Have you ever thought about how much money you spend on plastic snack and sandwich bags over a lifetime of packing lunches for you and your family? Along that line of thinking, have you considered how much plastic is in landfills and the ocean from plastic that came from sandwich bags? Let’s assume you pack lunch four days a week and use two plastic snack bags for each meal. Taking out two weeks for vacation, this would equal 400 plastic snack bags a year per person. That is a LOT of plastic.
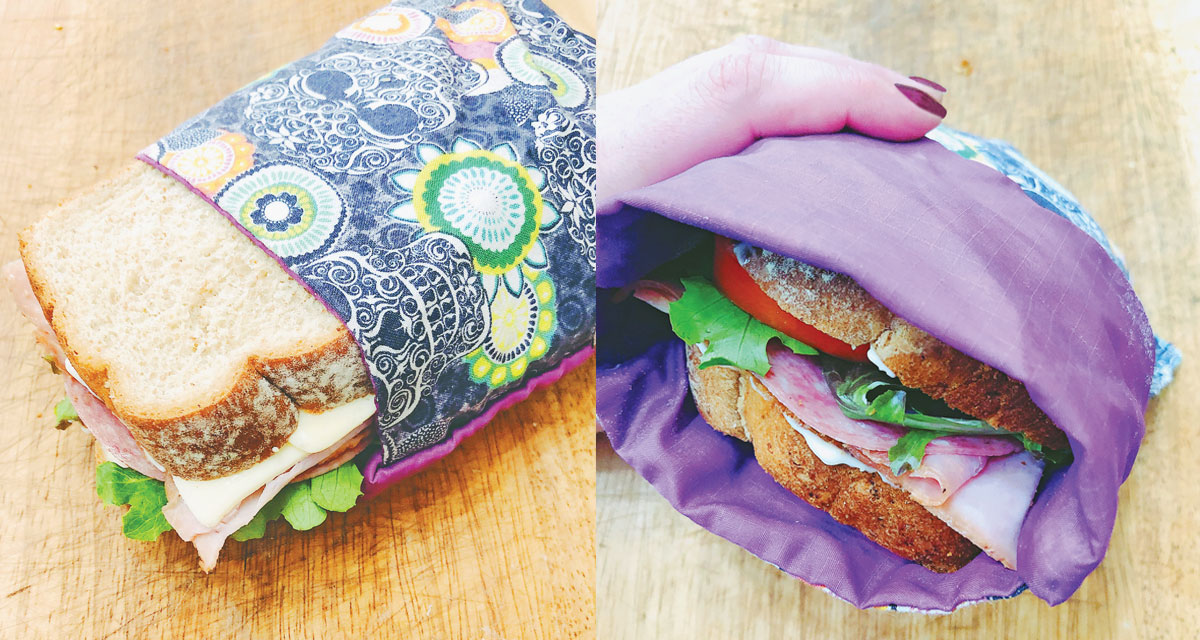
By choosing to make your own reusable snack bags, you can not only save your household money and feel better about how your choices are affecting the environment, but you can also look cool doing it! The best part of making your own items is that you can choose the raw materials to suit your personal style. Head over your favorite fabric store and pick out some 100% cotton quilting fabric in whatever design floats your fancy. If you are making this for your children, there are plenty of fun character designs to choose from. If you are making it for yourself, maybe a fun cactus print or sugar skull pattern is more appropriate. When your outer fabric is chosen, pick out a ripstop material in a coordinating color. If you aren’t sure exactly what ripstop fabric is, just ask a sales associate, who will be able to help you. Then follow the easy instruction below to make your very own reusable (and machine washable) bags. The base instructions are for a sandwich bag, using standard loaf-size pieces of bread. Keep in mind, though, that you can personalize your sizes to whatever works best for your snacks!
Materials:
- Sewing Machine
- Thread
- See-Through Ruler
- Fabric Marker or pen
- Cotton Fabric (in a fun pattern)
- Rip-Stop Fabric
- Straight Pins
- An Iron
- Using the see-through ruler, mark out and cut a rectangle 17″ long and 7½” wide on both the outer and inner fabric.
- Placing the right sides together, sew the edges with a ½” seam allowance, leaving a 2″ opening.
- Cut the corners on an angle; this will help avoid bulk at the corners.
- Turn the rectangle right side out and iron it flat.
- Create a bifold (the same way traditional sandwich bags were made)—the folded-over section should be 3″ long. Press this down and then pin at the edges. The whole thing should now measure approximately 6½” x 6½”.
- Using a decorative stitch (zig-zag or as fancy as you want to get, depending on your machine abilities), stitch down both sides, back-tacking at the beginning and end of each stitch to secure.
- Flip the overhang to the other side to place the food in, and flip it back to close the bag.
- Enjoy your new fun, reusable bags!